

7 Days of Paper Spring Decor: Farmhouse Flower Pot
Posted by admin on
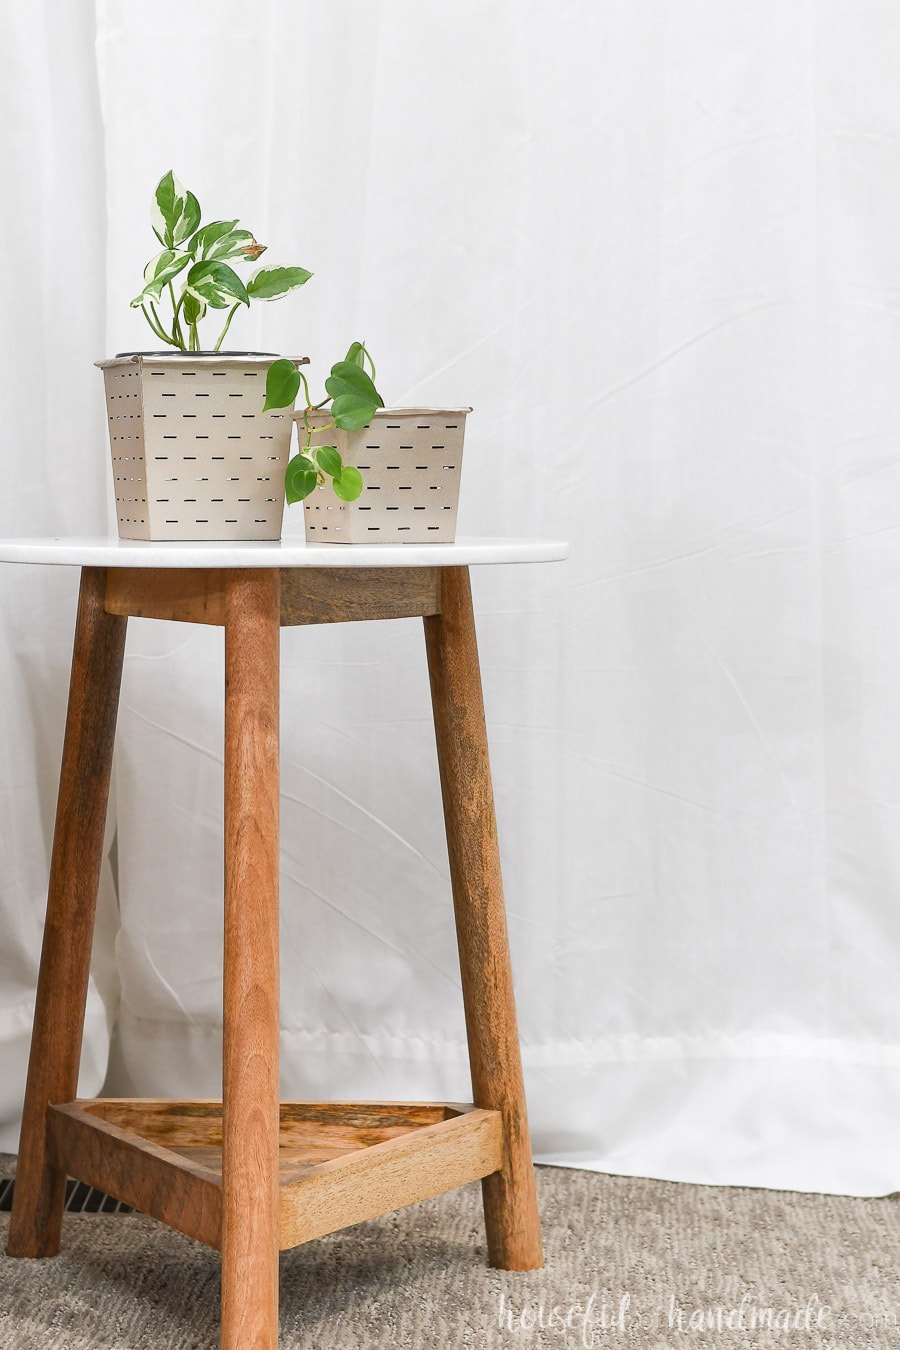
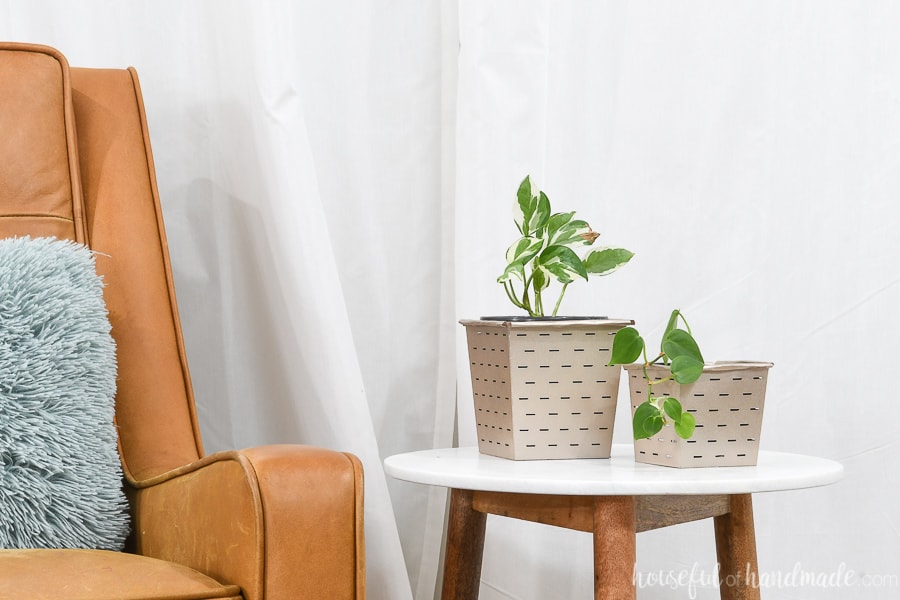
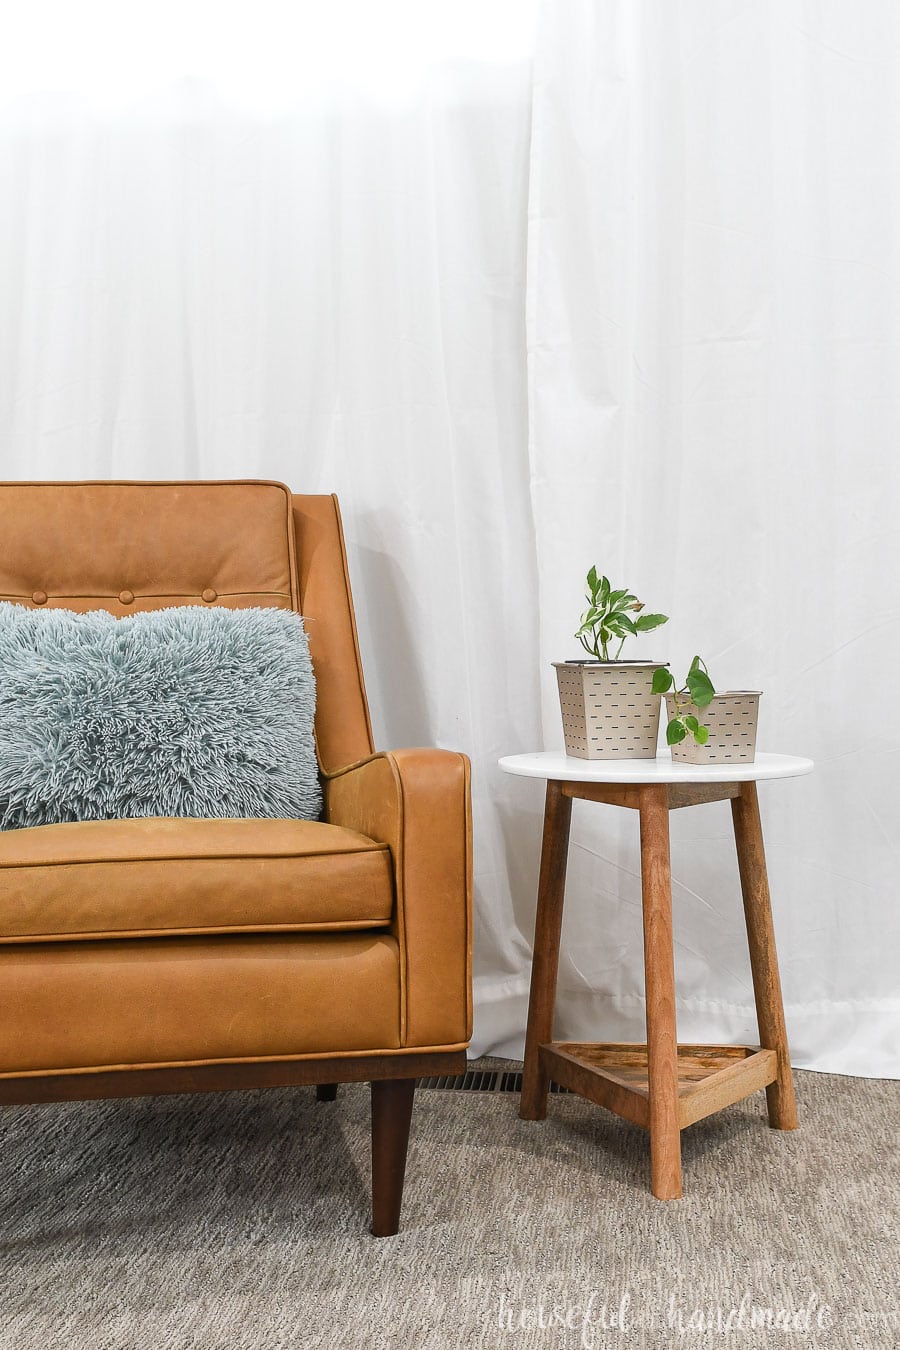
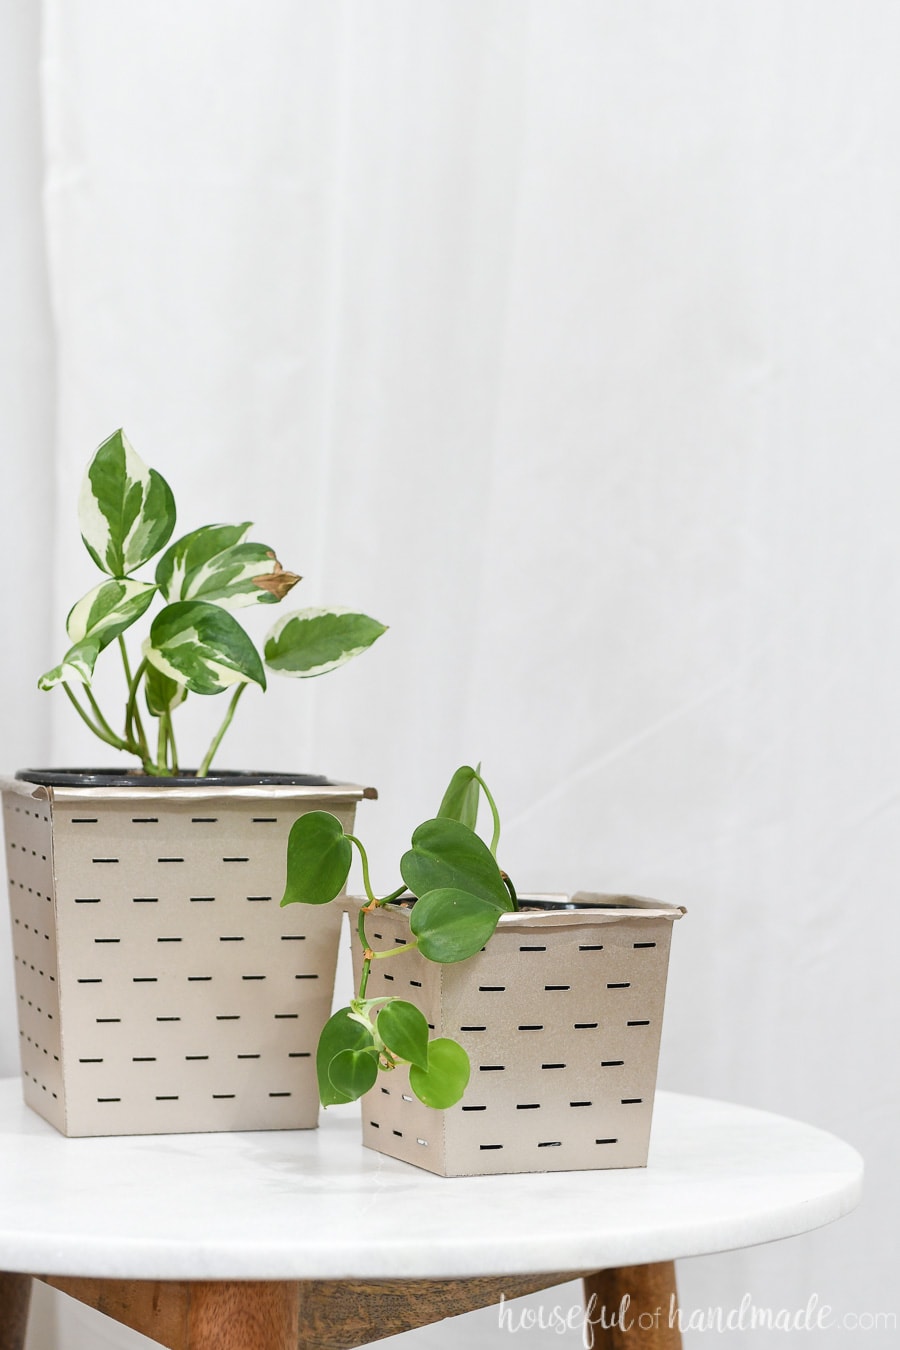
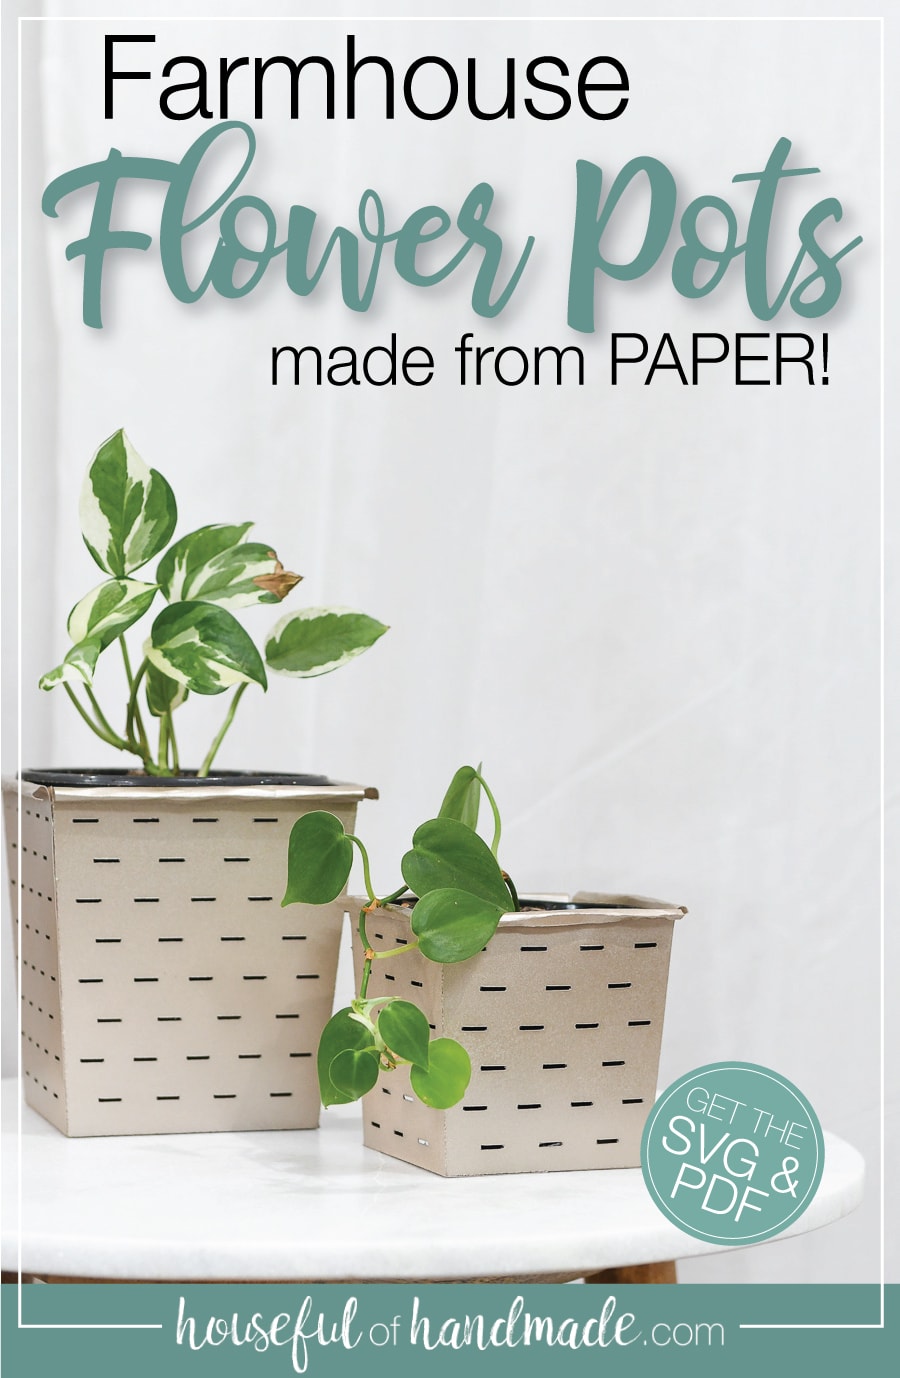
Dress up any inexpensive container with this farmhouse flower pot.
It’s Day 6 of the paper spring decor series. Only 1 day left…
Today’s post is perfect for the budget gardener. I love planting flowers, seeds, and more. But when I run out flower pots… what am I suppose to do?
Why not make paper flower pots?!?
I know, paper flower pots won’t work on their own. But they are the perfect way to dress up less attractive planter options.
When you are stuck at home or on a budget, you can use creative containers to plant your spring seeds. Then make them look amazing all around the house with these farmhouse flower pots!
Containers to Use to Plant
If you want to plant seeds, repot plants, or even propagate existing plants, you will need containers. But instead of buying expensive pots try some of these ideas instead.
- Empty sour cream, yogurt, etc. containers
- Mason jars or empty glass food jars
- Empty food cans
- Old cups, mugs and bowls
- Disposable party cups
Then you can dress up these cheap containers with these DIY paper pots. No one will be able to see the upcycled container, jut the pretty plant and pot!
Plus you can paint them any color you want. Make them match your own home’s decor.
You will notice that one thing these containers do not have is drainage. And drainage is important when growing healthy plants.
- For containers you can put holes in: drill or poke small holes in the bottom. Then use lids from sour cream, yogurt, etc. containers underneath to contain any water.
- For containers you cannot put holes in: add a couple inches of small rocks, marbles, etc. at the bottom, then add your soil on top. Excess water can drain to the rocks and keep your soil from staying too wet. Just make sure not to over water.
How to Make DIY Flower Pots
Supplies:
- Flower pot template
- I am sharing the SVGs & PDFs in my subscriber library until 4/6/2020, then they will move to the shop. Click here to subscribe to my newsletter and gain access to all the freebies. If you already have your password, click here to download them.
- Printer
- Cardstock
- Hot glue gun with glue sticks
- Spray paint
- You could use any paint to color your pots, but I like spray paint for paper projects because it gives it a real metal or plastic look with a nice sheen on it.
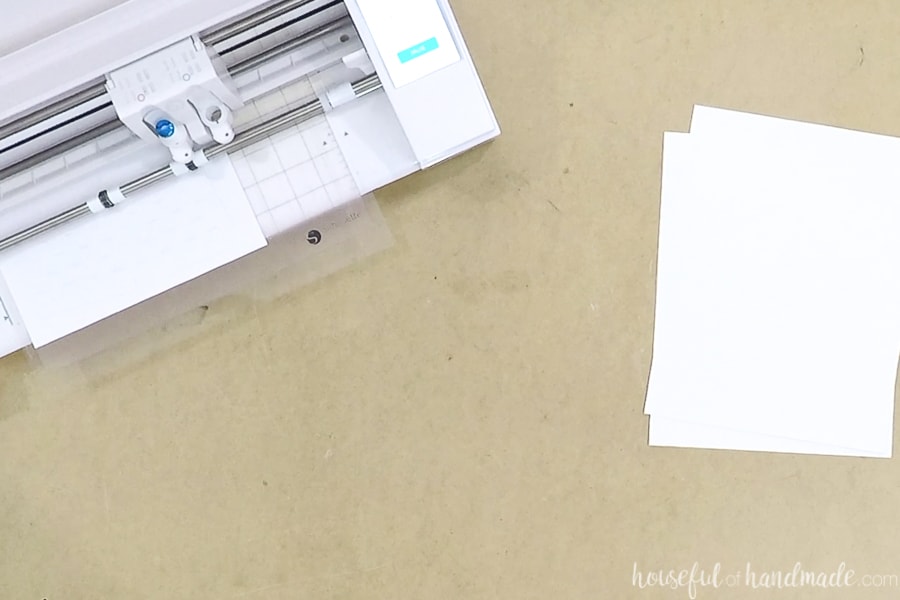
- Optional: Electronic cutting machine
- I love using my Silhouette Cameo to quickly cut out paper decor projects, but you can also use scissors and an x-acto knife.
Cut out the template of the flower pot on cardstock. The smaller pot fits on just 1 sheet of cardstock and the larger one will need 2.
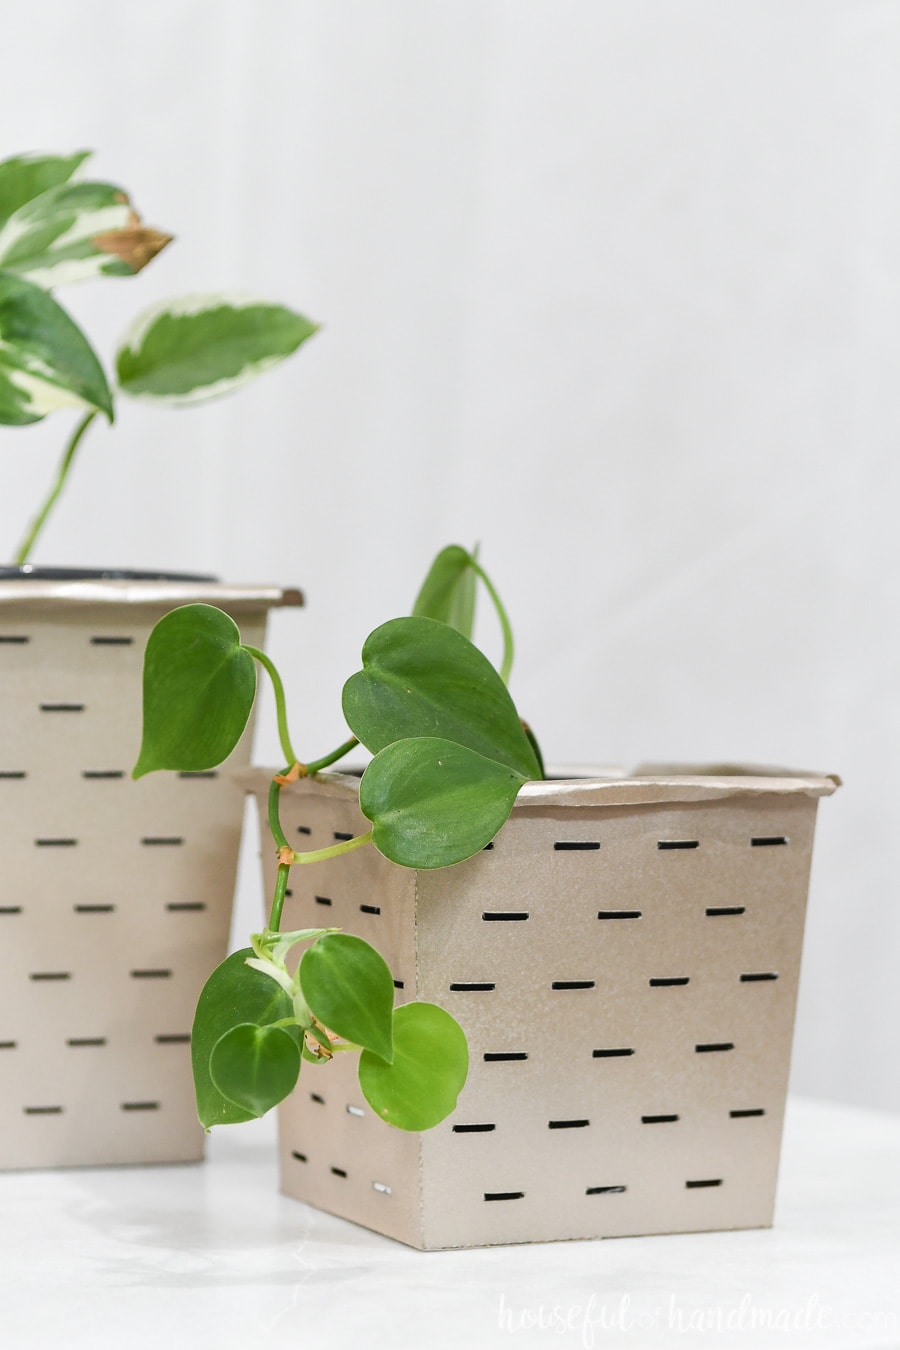
If not using an electronic cutting machine, use an x-acto knife to carefully cut out the dashed line decoration or leave it closed for a simpler version.
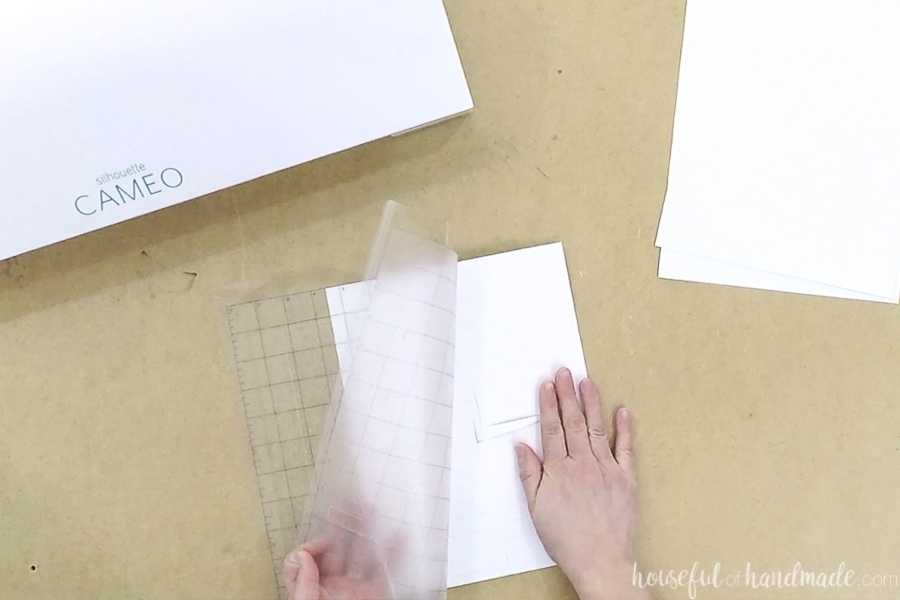
When removing the paper from the cutting mat, make sure to turn the cutting mat over and remove the mat from the paper. This will keep your cardstock from curling up as it is removed.
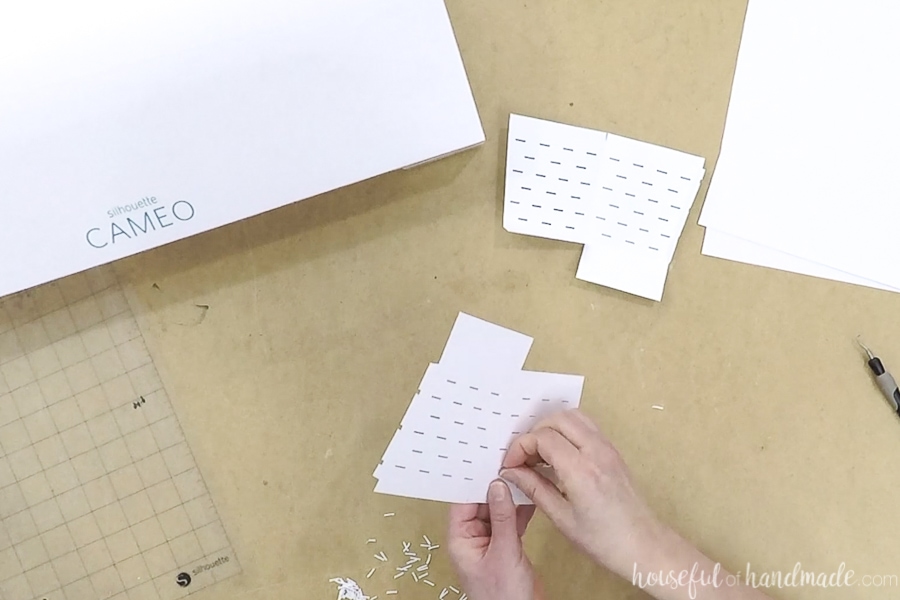
You will probably have to remove all the pieces from the dashed line detail on the pieces. This only takes a minute or two.
If you do not have longer finger nails to get under the little pieces, use the little hook tool to help.
Fold along all the dotted lines.
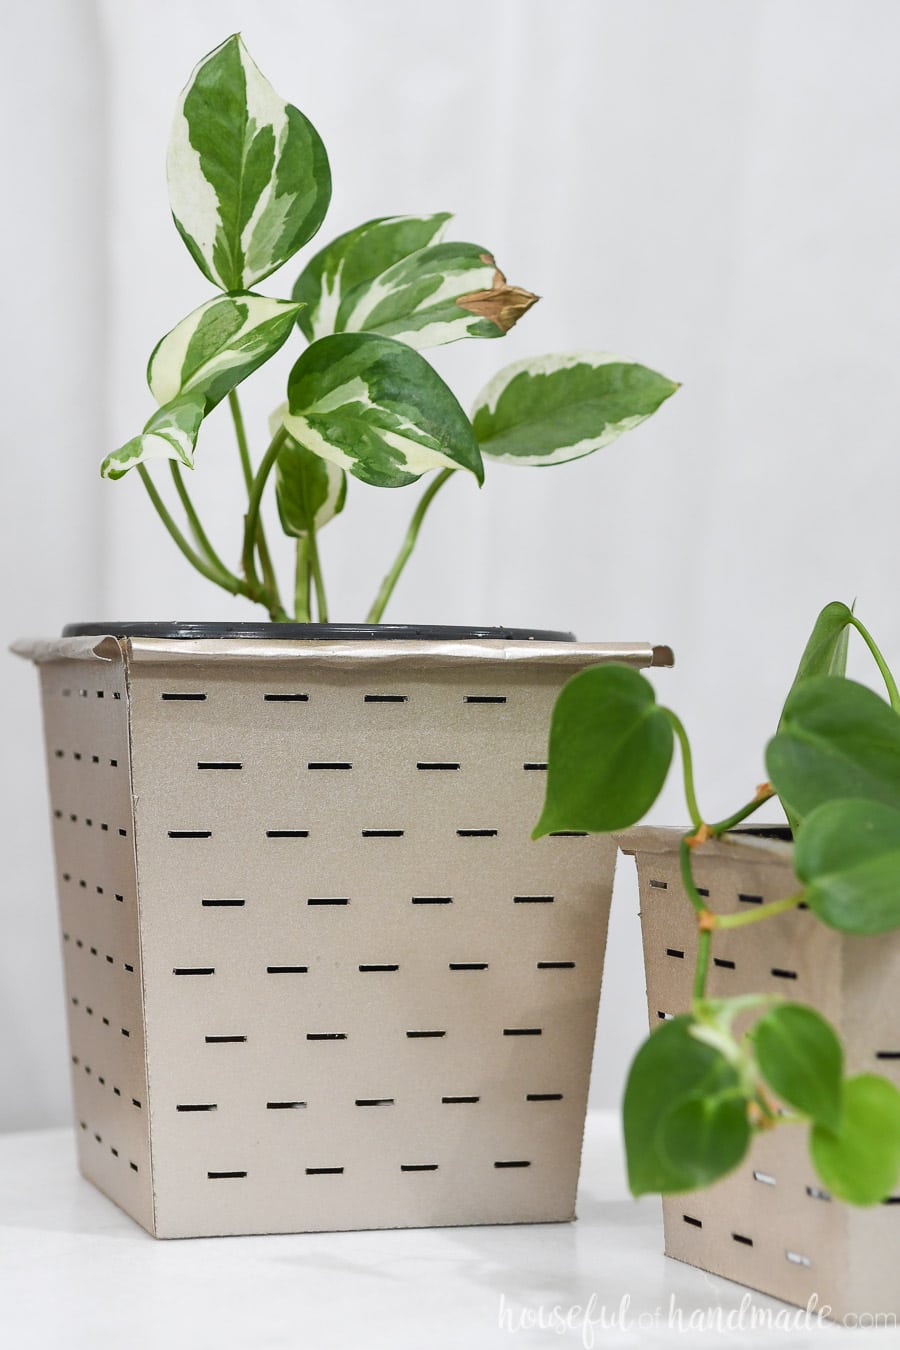
To create a nice finish on the top of the planting pot, curl over the flaps with a pencil. Then pinch it smaller until it fully rolls under itself.
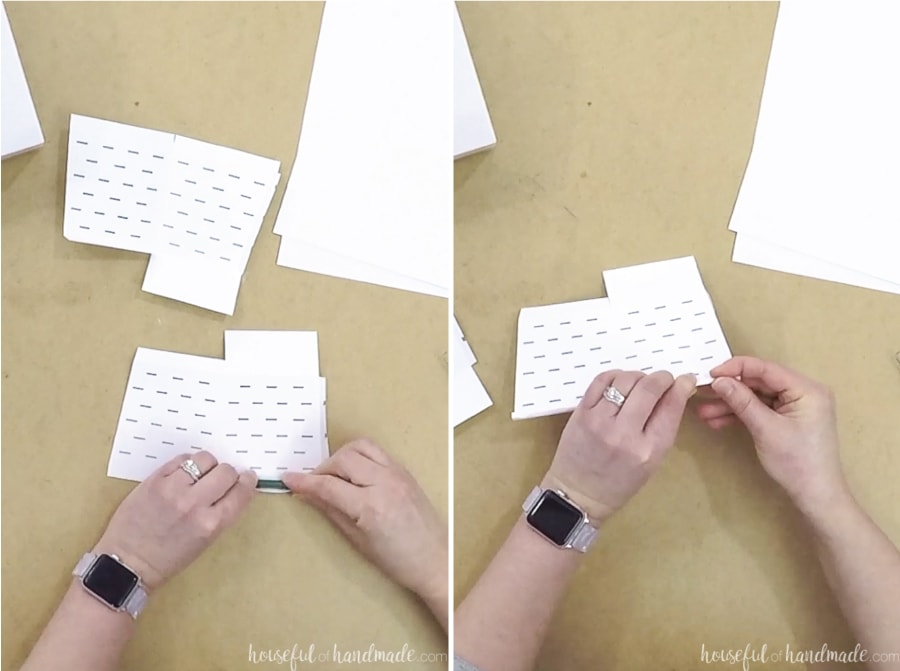
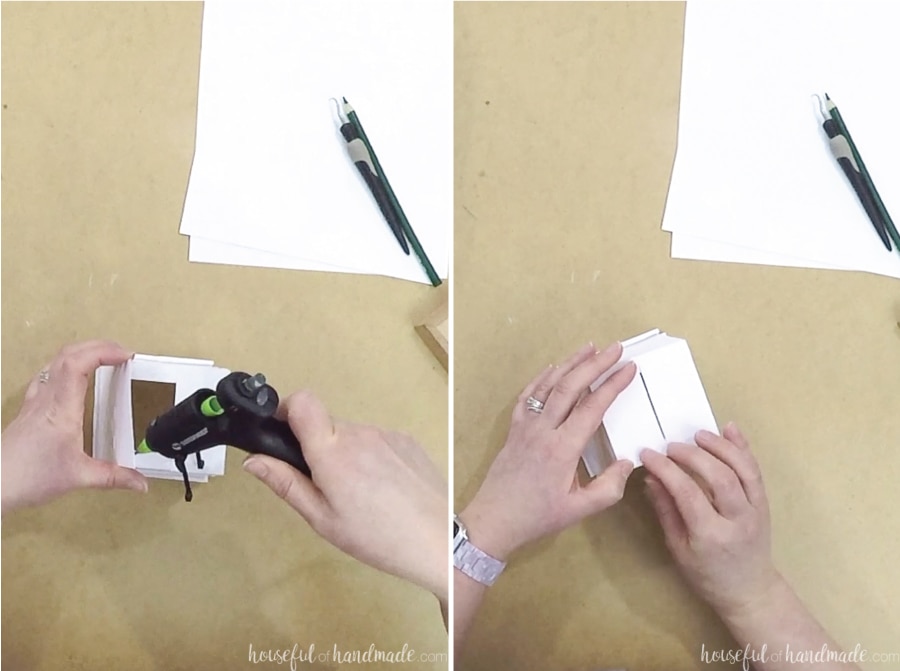
Glue the sides together, making sure to line up the bottom first since the top might not be the exact same height because of the rolled top.

Then finish assembling the bucket by glueing the bottom flaps together to close it up.
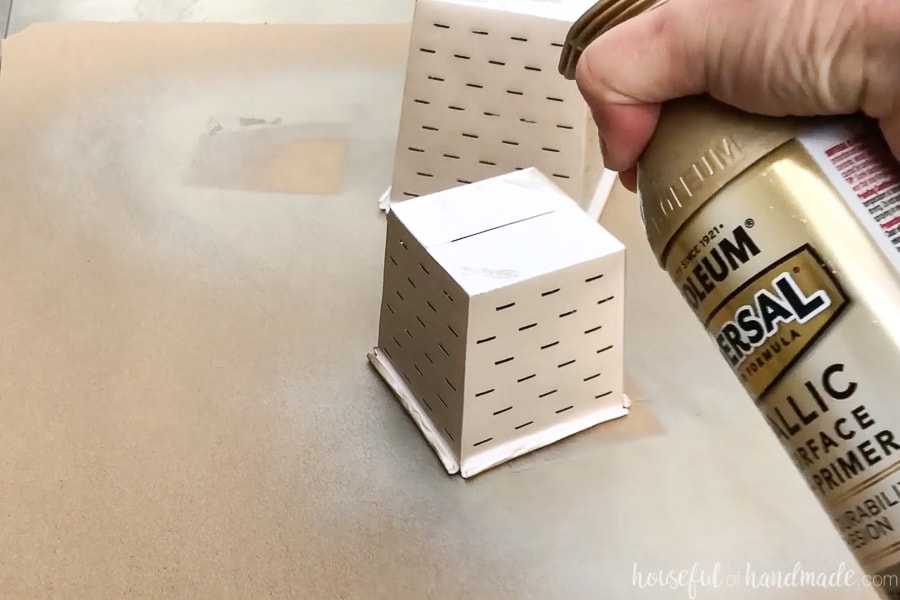
Paint the flower pot any color you want. I used Champagne mist spray paint left over from my Anthropolgie Knock-Off mirror also made out of paper!
You can use any paint you want to paint the flower buckets, but the spray paint does give them a nice sheen and makes them look like real metal or plastic.
Now you can cut up any left over containers you have to plant some seeds, flowers or cuttings into! And tuck them nicely into your new farmhouse flower pots.
Even if you are stuck inside, you can still get creative and start planting something this spring 😉
And don’t forget we still have 1 more fun spring paper project coming tomorrow! If you missed any of the other projects, check them out below:
- Day 1: Faux Wood DIY Candlesticks
- Day 2: Flower Easter Basket
- Day 3: Gingham Bunny Banner
- Day 4: Simple Easter Signs
- Day 5: Bunny Napkin Rings
- Day 6: Farmhouse Flower Pot

The post 7 Days of Paper Spring Decor: Farmhouse Flower Pot appeared first on Houseful of Handmade.