Wine Bottle Crafts | How To Make Wine Bottle Planters
Posted by admin on
Wine bottle crafts are easy to make, practical, and absolutely stunning. Make your patio shine with these unique wine bottle planters!
Beautiful DIY Wine Bottle Planters For Your Patio
Are your empty wine bottles collecting dust? I have an easy wine bottle project that is just as fun to do as it was to empty them! Create beautiful hanging wine bottle planters perfect for the winos and non-winos alike. And just like wine itself, this planter gets better with age!
What You'll Need:
- 1 x empty wine bottle
- 1x spool twine
- 1 x bag of lichen moss
- 1 x bag of Spanish moss
- 1 x 8-yard spool of 20 gauge copper wire (or chicken wire)
- 1 x Scissors
- 1 x Lighter
- 1 x standard candle
- 1 x glass cutter tool
- 1 x small, lightweight house plant (ivy plants work great!)
- 1 x package of ice
- 1 x small bucket
- 1 x masking or duct tape
- 1 x sheet of sand paper
- 1 x small bag of planting soil
How To Make DIY Wine Bottle Planters:
Step 1: Tape End Of Wine Bottle
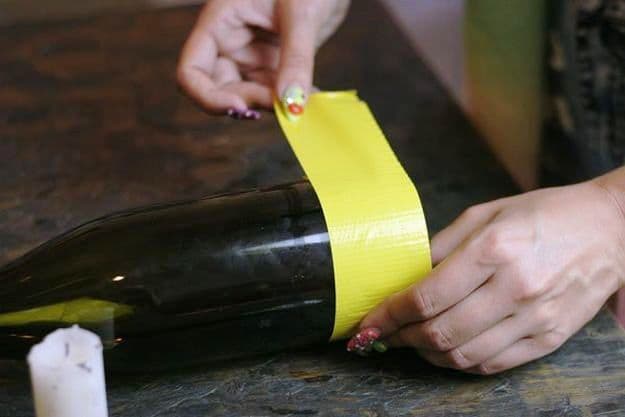
Create a straight line with tape around the end of your bottle. This will help support the glass cutter to make a straight line on your wine bottle. Make sure the seams line up!
Step 2: Score Wine Bottle
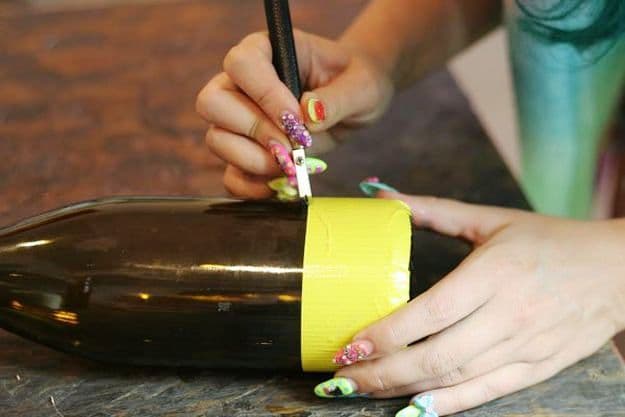
Use the tape as a guide on where score with your glass cutter. Press glass cutter firmly and carefully score the bottle completely around in a straight line. Only make one score line on the edge of the bottle.
Step 3: Burn Score With Candle

Next, move your workplace to a concrete floor, for safety, since we will be working with fire. Place candle on floor and light. Hold wine bottle over candle flame, slowly turning it as you go. You should hear a popping sound as you turn your wine bottle.
Step 4: Remove End Of Wine Bottle
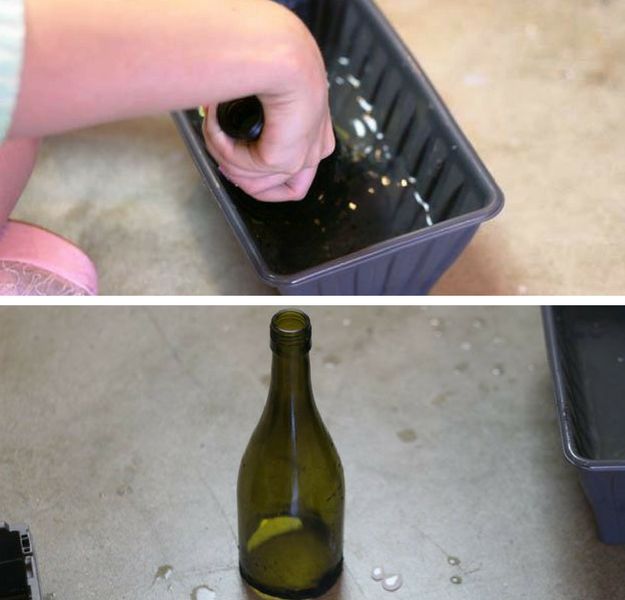
After you have completed burning the entire circumference of the bottle, submerge the end of the bottle into ice water. It may help to lightly tap your wine bottle against the side of the bucket to help loosen the end of the bottle. Edge didn’t come out completely straight? No worries, the plants and moss we are using can help cover any imperfections.
Step 5: Sand Edge
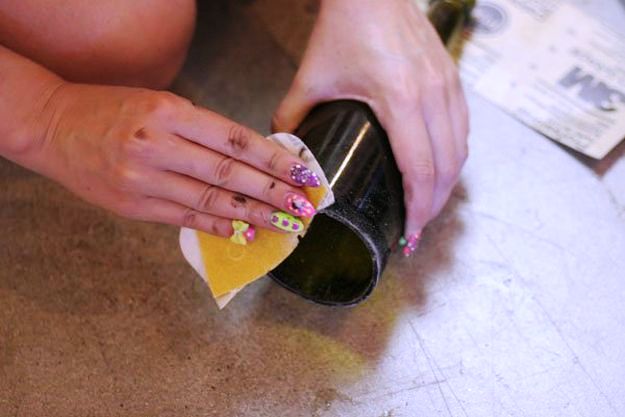
Wear a dust mask or take your project outside for this step; glass dust plus your lungs is not a good thing. Take your sand paper and buff down the hard edges. Make sure to get the outside and inside edges of the wine bottle. Dunk your wine bottle into your ice water once more to clean off any dust.
Step 6: Clean Plant
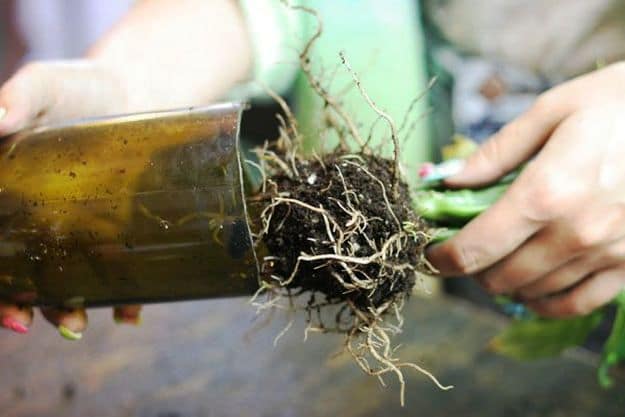
Next, remove your house plant from its container. Gently remove excess soil, exposing the roots. Use your wine bottle to measure to fit. Since roots can take up a lot of space, I suggest getting a small, lightweight house plant for this project.
Step 7: Cover Roots With Moss
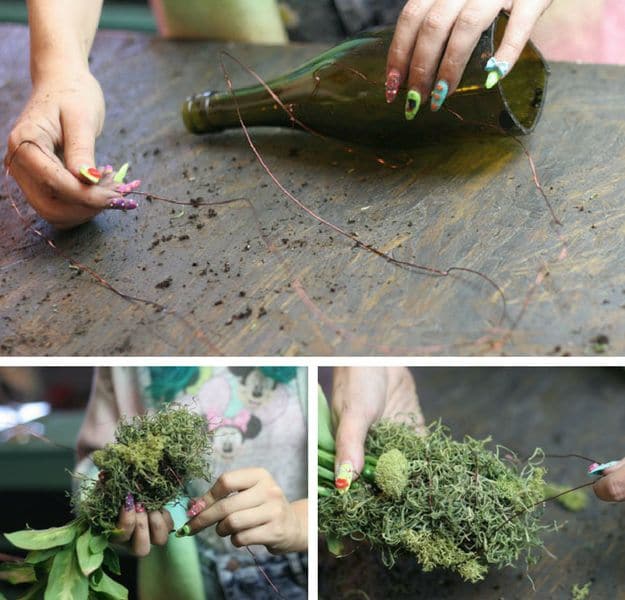
Cut your wire into a length twice as tall as your bottle. Wrap Spanish moss and lichen moss around the roots, this helps hide roots and keep the plant from falling out of the wine bottle. Plants need to breathe, so when wrapping your wire around moss, do so gently, not tightly, this allows for water to get through and plant growth. Twist wire ends together, forming one long strand. This will become your hanging hook.
Step 8: Add Planting Soil
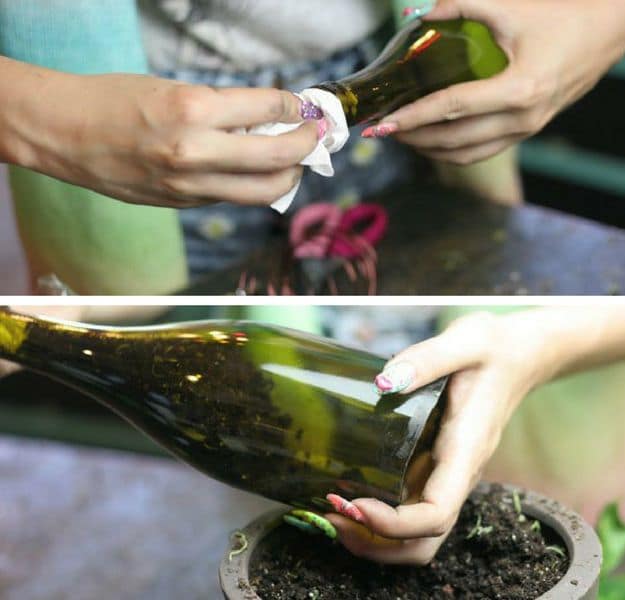
Since we removed soil from our plant, we need to add some more to our plant’s new home. Plug up the wine bottle top with a paper towel and add two handfuls of planting soil to your wine bottle.
Step 9: Insert Plant Into Wine Bottle
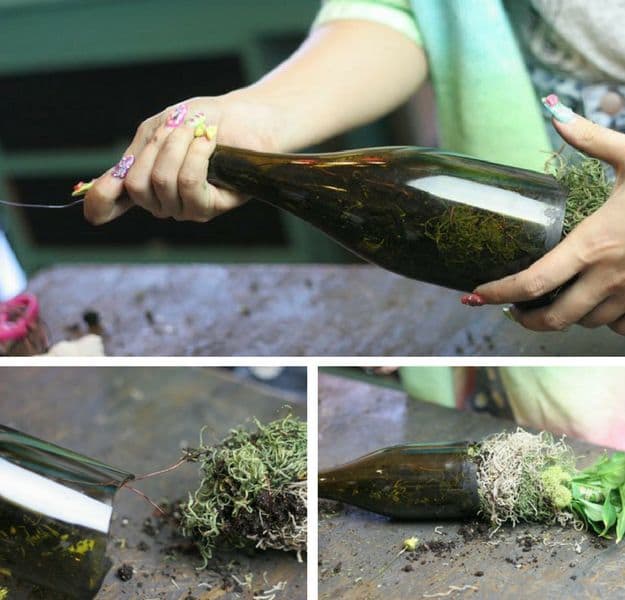
Remove the paper towel plugging the lip of the wine bottle, and push plant through the layer of soil till wire is exposed at the top.
Tip: Thread wire through the wine bottle. Push roots first into the wine bottle. The moss and wire help hold the wine bottle in place.
Step 10: Add Twine
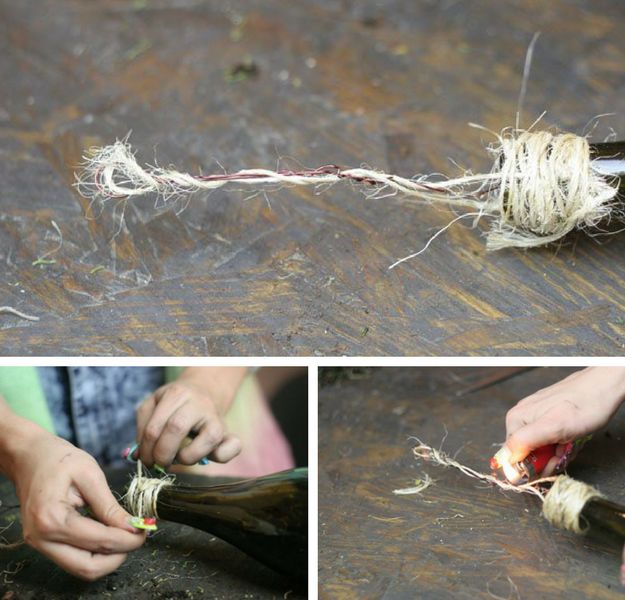
To finish off this look we added twine to the lip of the bottle and up through the wire that will be our hanger. Then take your lighter to get rid of the twine fuzziness.
Step 11: Water and Hang
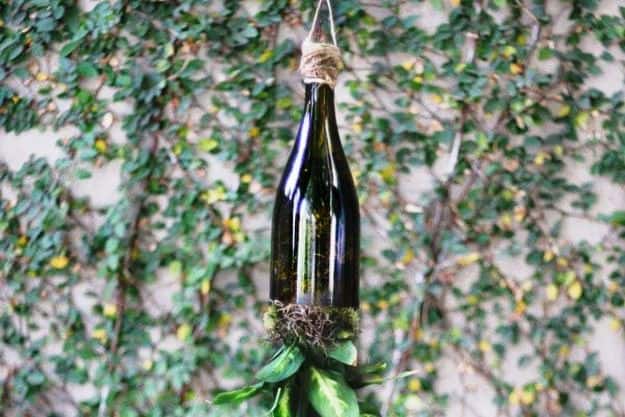
Our little plant has deserved a water break, pour water through the top of the wine bottle over a sink, to avoid spilling. After your plant has drunk its fill, hang your beautiful new wine bottle planter indoors or outdoors. Cheers!
Want another cool wine bottle craft? Check out this video from ENJOY CRAFTING:
Repurposing wine bottles is a fun and unique way to decorate your home. Create a few of these wine bottle planters project and scatter them in your patio or yard. You'll surely have a wonderful accent to make your plants shine!
Will you be making this stunning wine bottle craft for you home? Let us know in the comments section below.
Do you enjoy making cut bottle projects? If you do, here're 5 DIY projects using cut glass bottles. They're a unique addition to your home decor.
Stay connected with us on Facebook, Twitter, Pinterest and Instagram!
Editor’s Note – This post was originally published in June 2014 and has been updated for quality and relevancy.
