

Our (Renter &) Family-Friendly Shelves
Posted by admin on
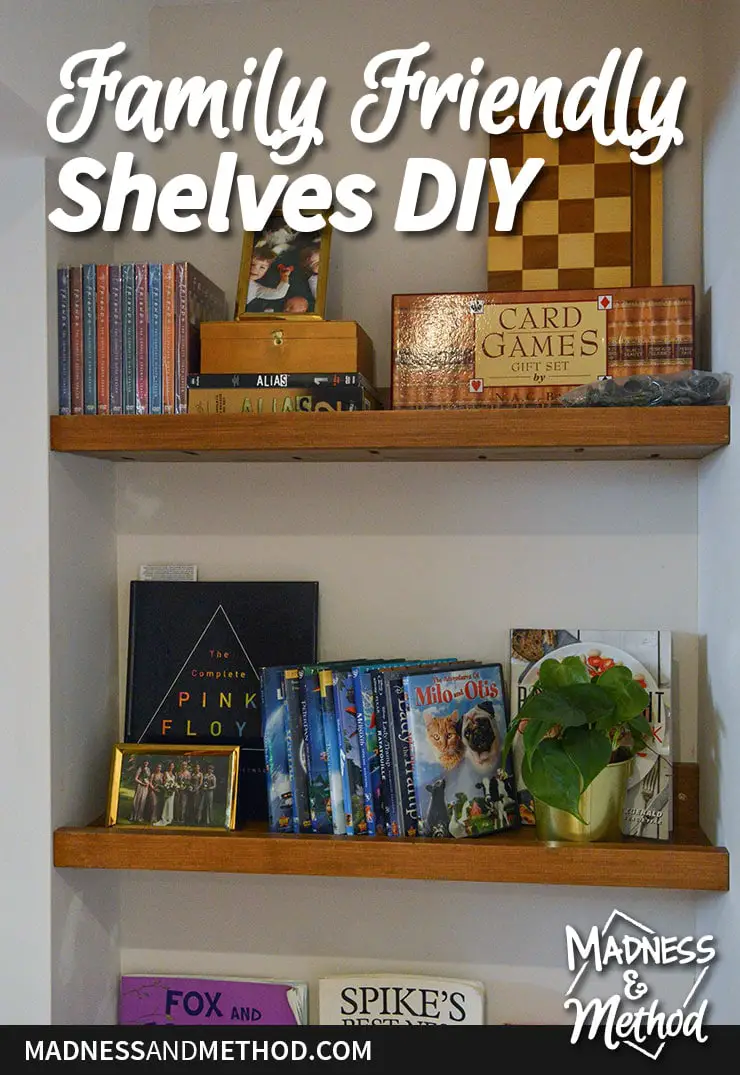
Here’s a fun little project that solved a few issues for us over at our rental home. I was looking to 1) find a designated spot for books, 2) display some games and DVDs for renters, and 3) fancy up a little alcove we had in our basement apartment. I’ve used the same easy shelf design in the past and I knew they would be perfect for these renter and family-friendly shelves!
– Note: This post contains affiliate links. See more information about affiliates here. –
You might be wondering what makes these shelves family-friendly? Well, I’ve strategically placed all the items our small toddler will need on the bottom shelf and things I don’t mind the older one touching in the middle. The shelves are also super strong, secured to the studs, and should be able to handle any rough activities!
Again, this the same basic construction/design I used for our rebuilt photo ledge and even the hook shelf in our mudroom.
Easy Shelf Construction
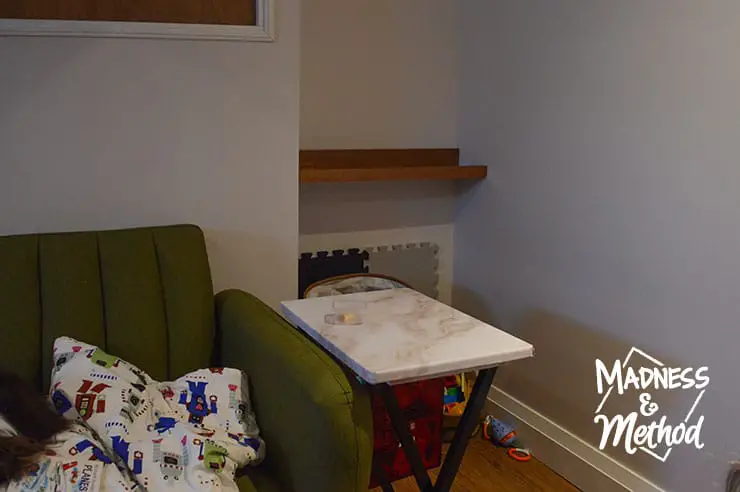
The first thing I did was measure the small alcove area that’s located in the basement apartment living room. It was just over 28″ wide, and just over 7″ deep. I knew I wanted my shelves to be as deep as possible to take up the space, so I created a simple wall layout and played with some height options.
Three shelves seemed to be the best option in case we ever got some taller books – but I had enough room for 4. The best part about only doing three was that I could make all of them out of single pieces of 8′ boards.
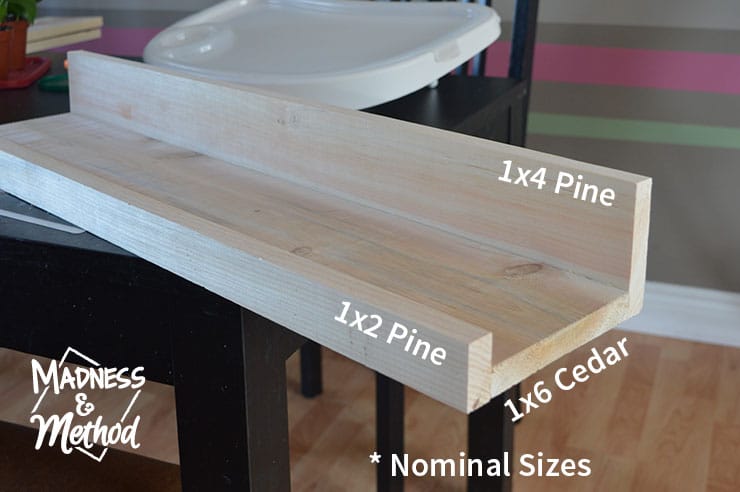
I used a combination of cedar and pine for my shelves, but you could/should use all the same wood if you’re planning on staining them. I was worried they wouldn’t take the stain the same, but I used a conditioner and water-based stain and they turned out great.
The real reason I used cedar for the depth section was because those boards were 5.5″ compared to the pine 1×6 boards which are only 5.25″. I knew I wanted to store some DVDs on my shelves, so I pre-measured them to make sure they would fit.
(And I couldn’t find any 1×2 cedar boards, so that’s why I went with pine for the front and back). I also figured that if the stains didn’t match, it wouldn’t matter as much on the bottom pieces.
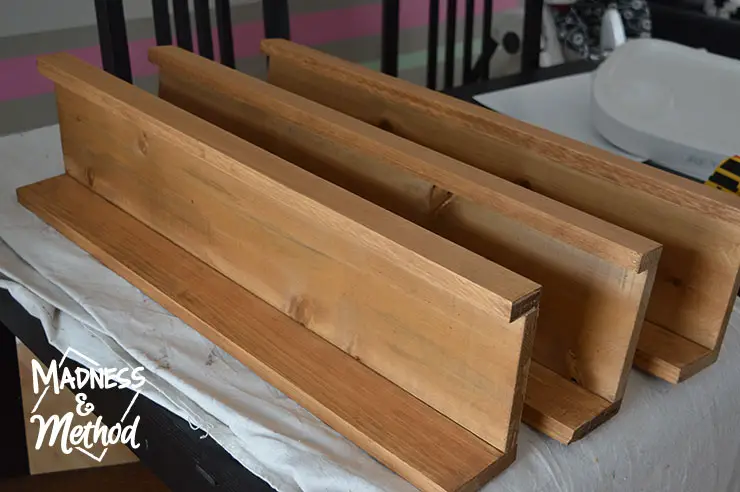
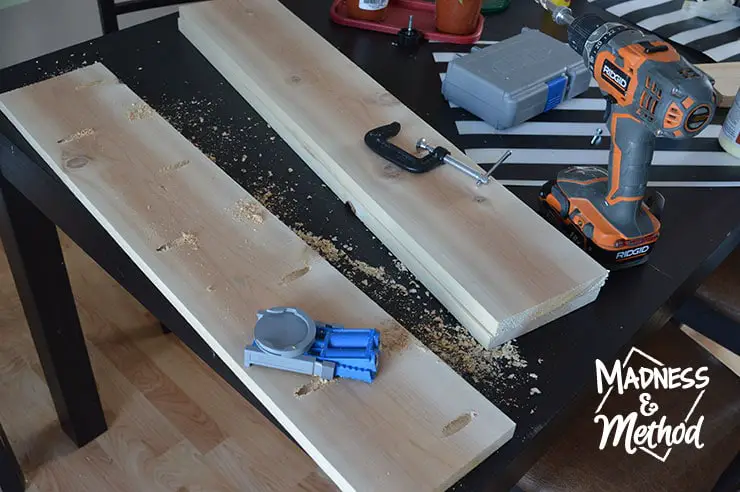
The open pocket holes are on the bottom because I was worried that if they were on the top of the shelves (aka where you hold stuff), then they might get dusty and/or filled with random gunk. I didn’t want to have to take things off the shelves to have to vacuum the holes all the time.
Materials Used
- 1 length each of 1×4″ Pine, 1×2″ Pine and 1×6″ Cedar
- Water-based wood conditioner and stain in Colonial Pine
- Tools: Kreg Jig, drill, mitre saw
- Miscellaneous small items like clamps, stud finder, sanding block, screws, level, paintbrushes, wood glue, etc.
Not where the shelf was actually installed. (This is where it stopped before I had to hammer it down into place).
I built the shelves at our main house over a few days, then brought them to our rental renovation to be installed. This is where I prayed that my measurements were correct… although there were some tight spots. I had to hammer the shelves in a couple of areas where it was tight.
I chose the location of the bottom shelf first because I wanted to fit our small mat squares in that area too. In hindsight, I should have probably put the shelf a few inches taller to account for hand/grabbing space.
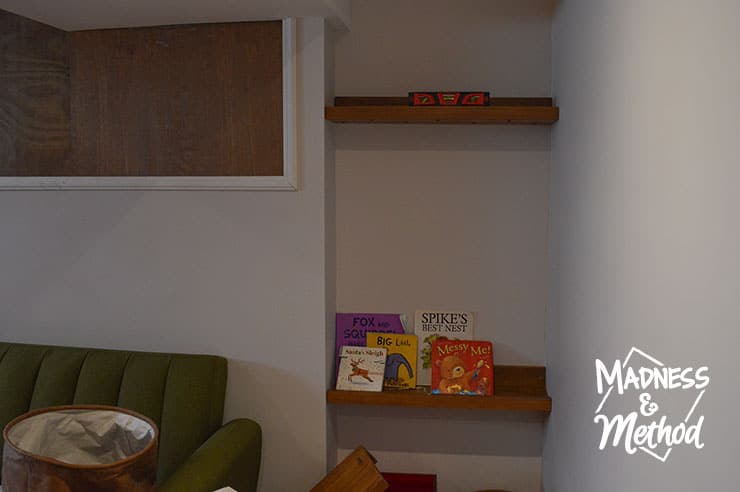
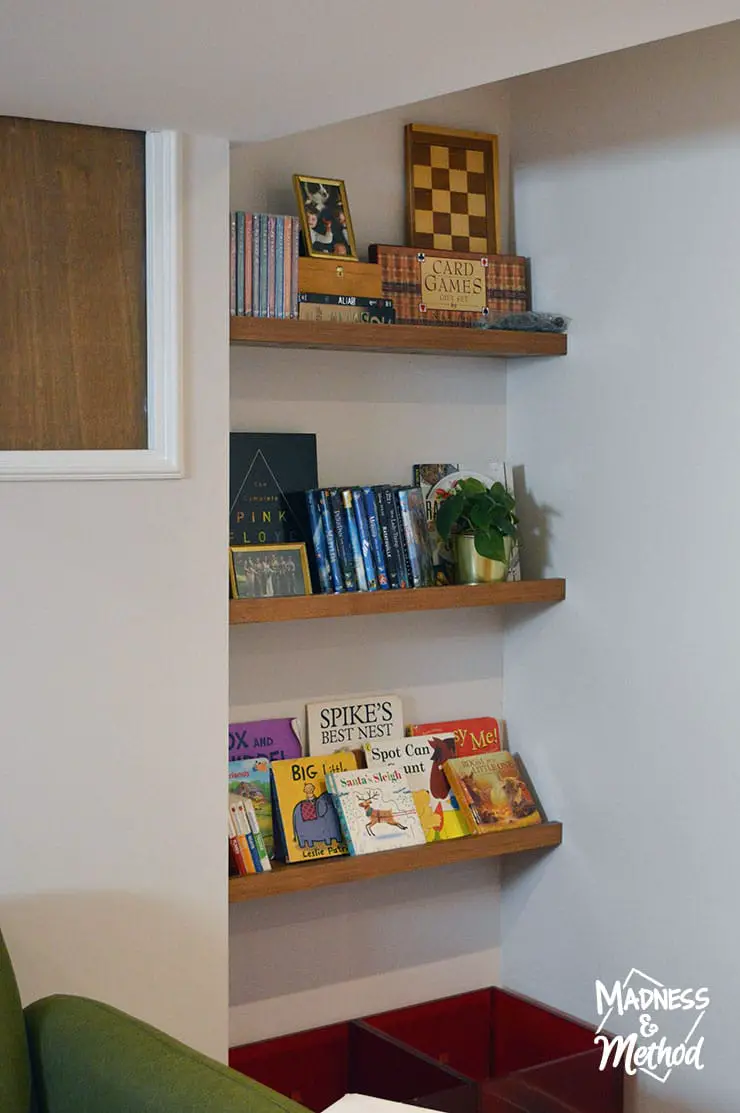
I then installed the top shelf, after putting a few items on that I knew it would be holding. It’s just over 5′ from the floor, so it’s also a good height that I can easily grab things and tip-toe to peek in if I need.
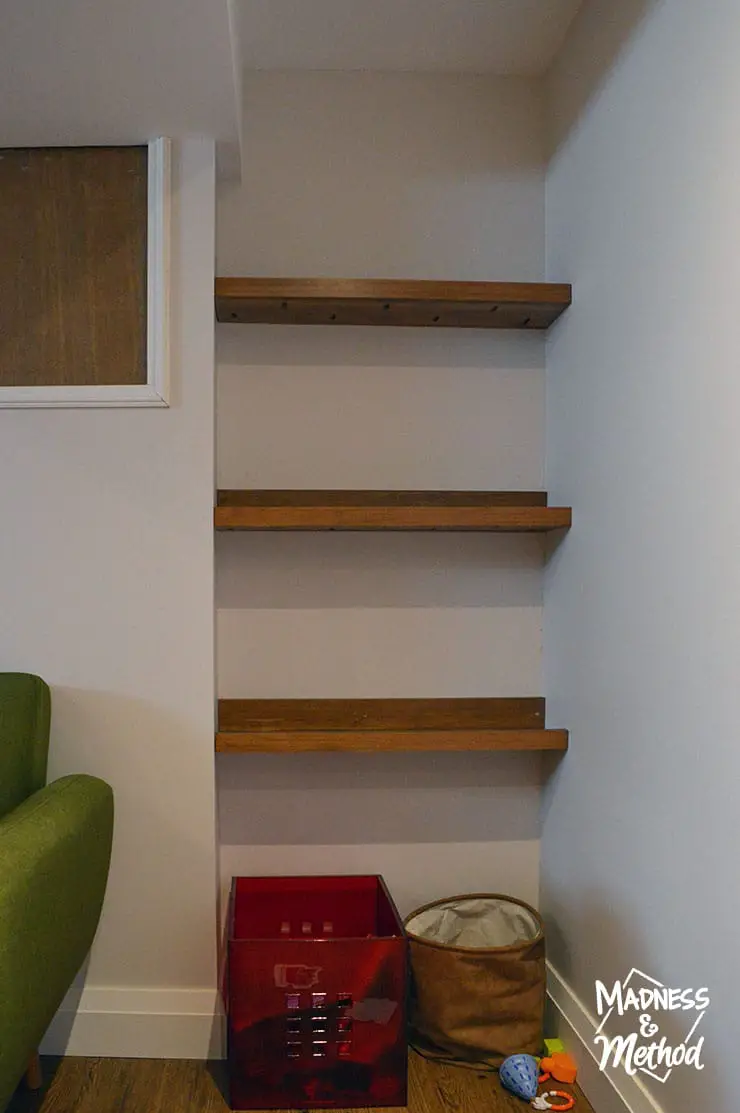
The middle shelf was simply placed at the halfway point between the two. All three shelves were installed into two studs (one on the right near the corner, and one midway-to-the-left). Once that was all done, I was ready to store/style my stuff!
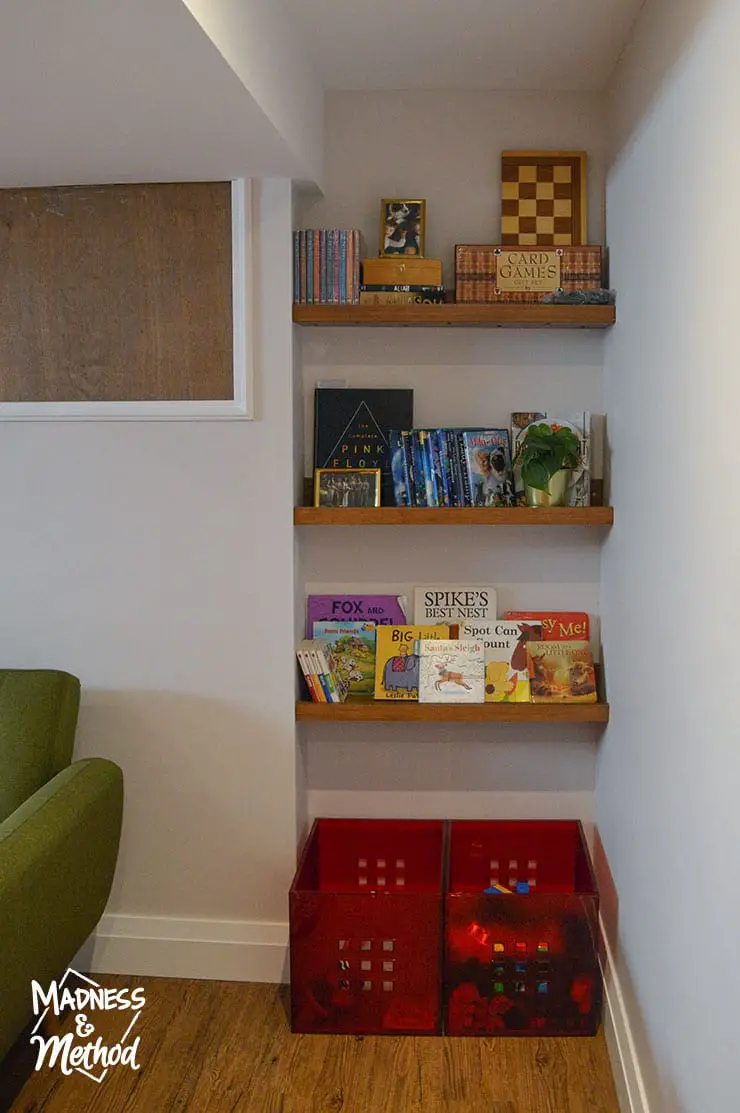
Family-Friendly Shelf Styling
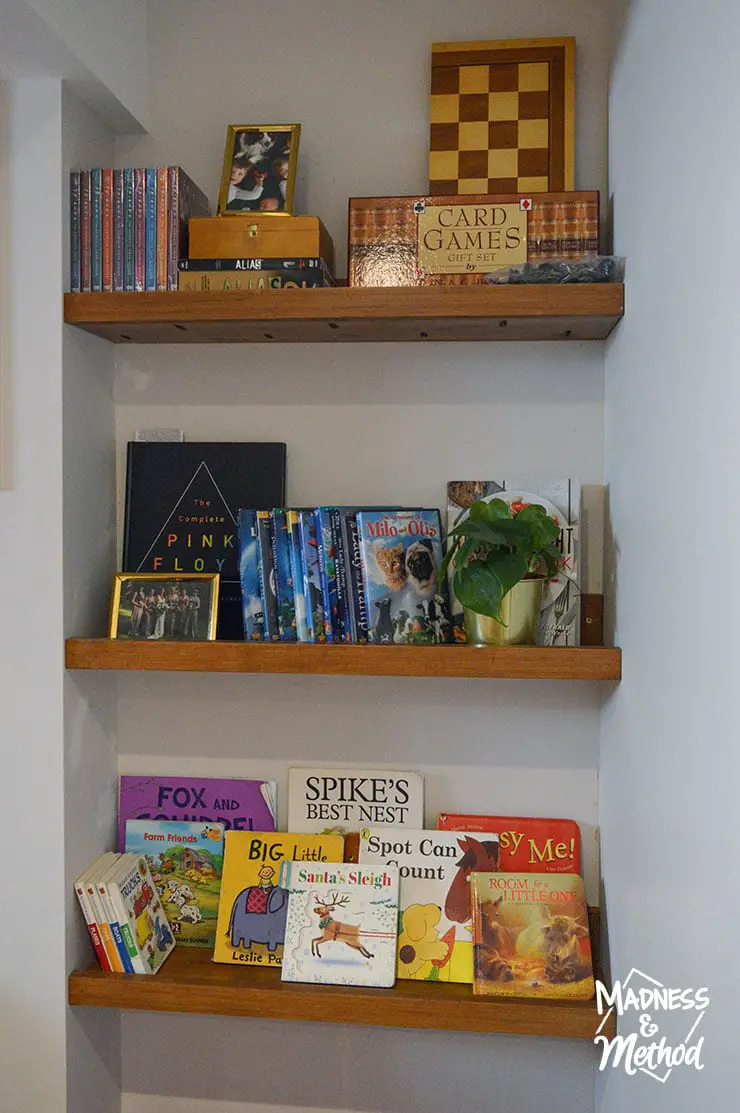
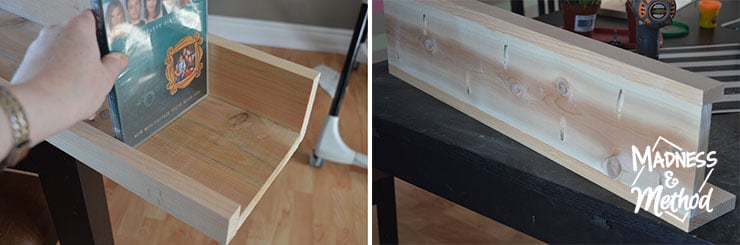
As mentioned, I placed all the kids’ books on the bottom shelf so they could easily be seen/grabbed. They used to be stored in one of our bins, but they were amongst the toys and it was always a pain to find the book they wanted.
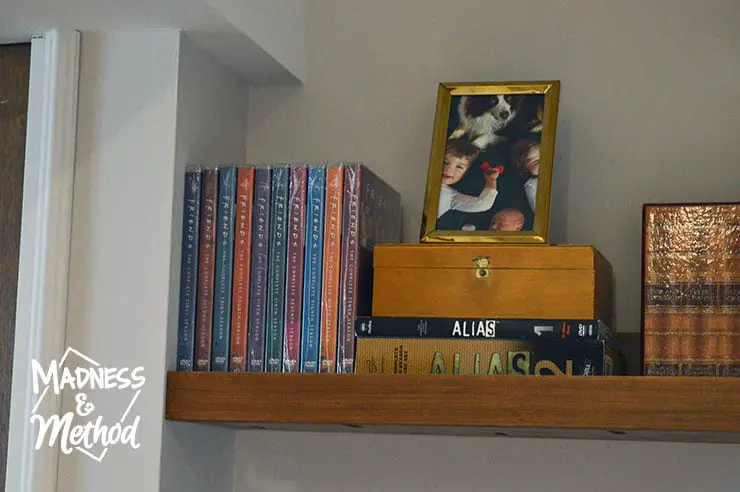
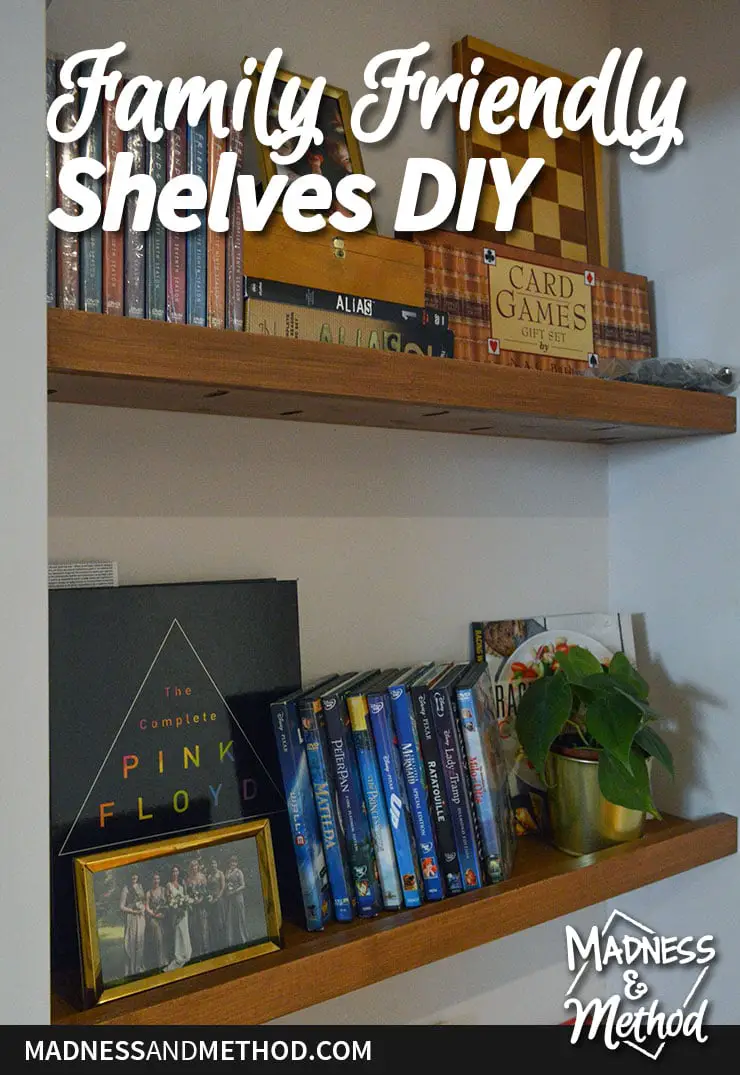
I put some DVDs and games on the highest shelf, along with our family’s Christmas photo. (The box below the photo holds the chess pieces, and I’ve since labelled it so our short-term renters know what’s inside!).
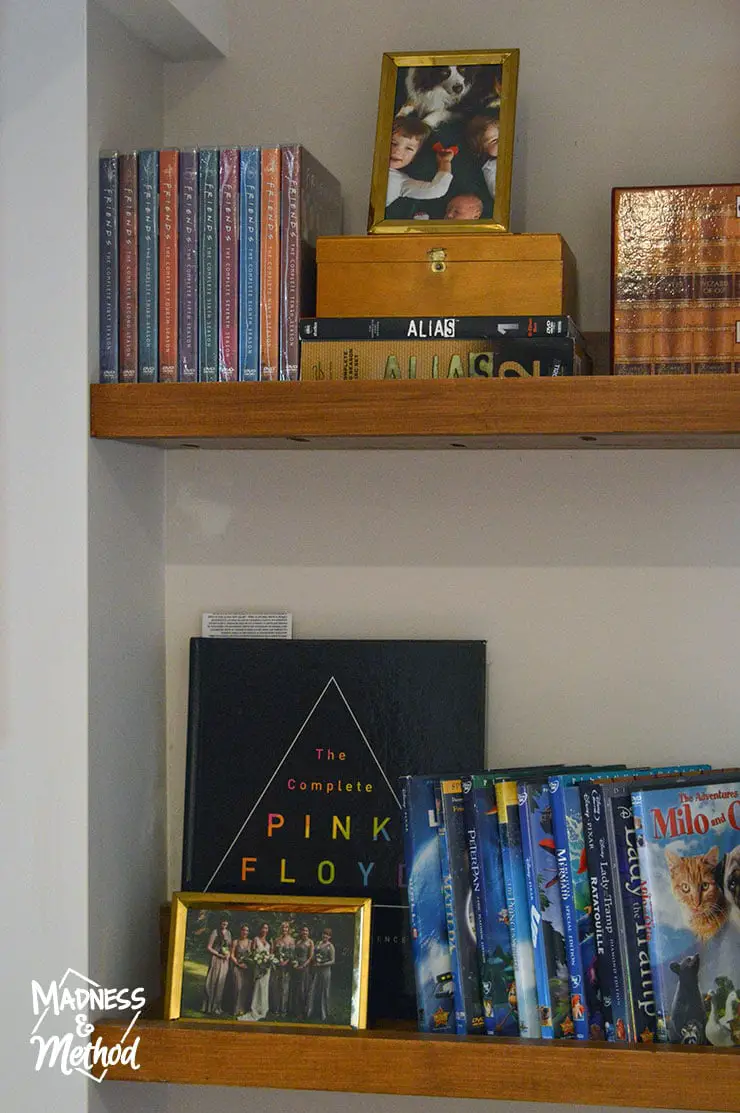
The middle shelf has my Pink Floyd book, a photo from a recent-ish wedding I stood in and all the kid-friendly DVDs.
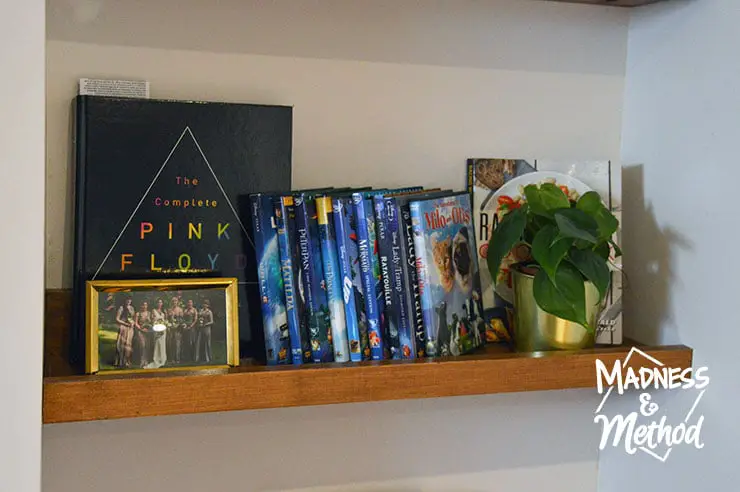
We brought our DVD player here in case people want to watch movies (we don’t have cable and some might not know how to use the Chromecast). I also have a plant and the Husband’s healthy cookbook.
So far the plant is doing well in the dim basement light. I had a pothos? (seen in the photos here) survive for a few good months. But unfortunately, it died when I had a baby and forgot to tell the Husband to water it for 2 months…
Other Family-Friendly Shelf Storage Ideas
- Cool looking/sculptural toys
- Artwork
- Open space (so they can display their current creations)
- Bins to hold small toys/other tiny things
- Board games (kind of like I have on the top)

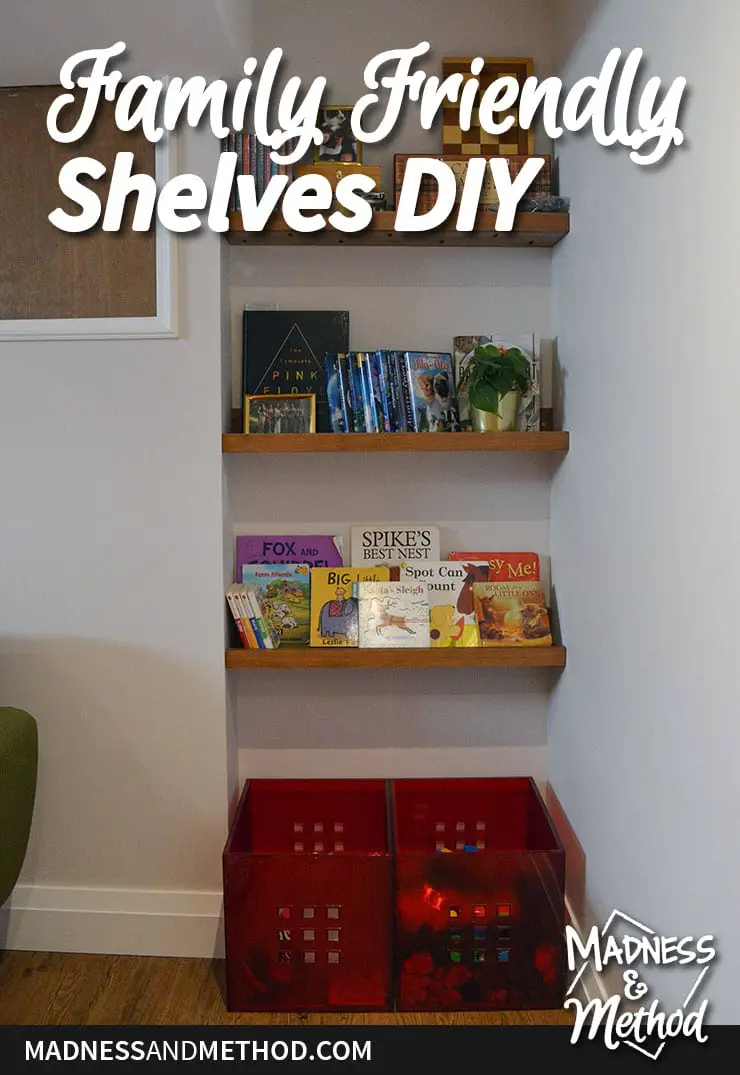
When I was reorganizing our space after installing these shelves, I realized it was the perfect width for two of our red Ikea bins. We store our blocks in one bin, and other random toys in the other. (Although the kids like to mess up the organization).
I love how the shelves help corral our stuff and help ensure that things don’t clutter up our other surfaces.
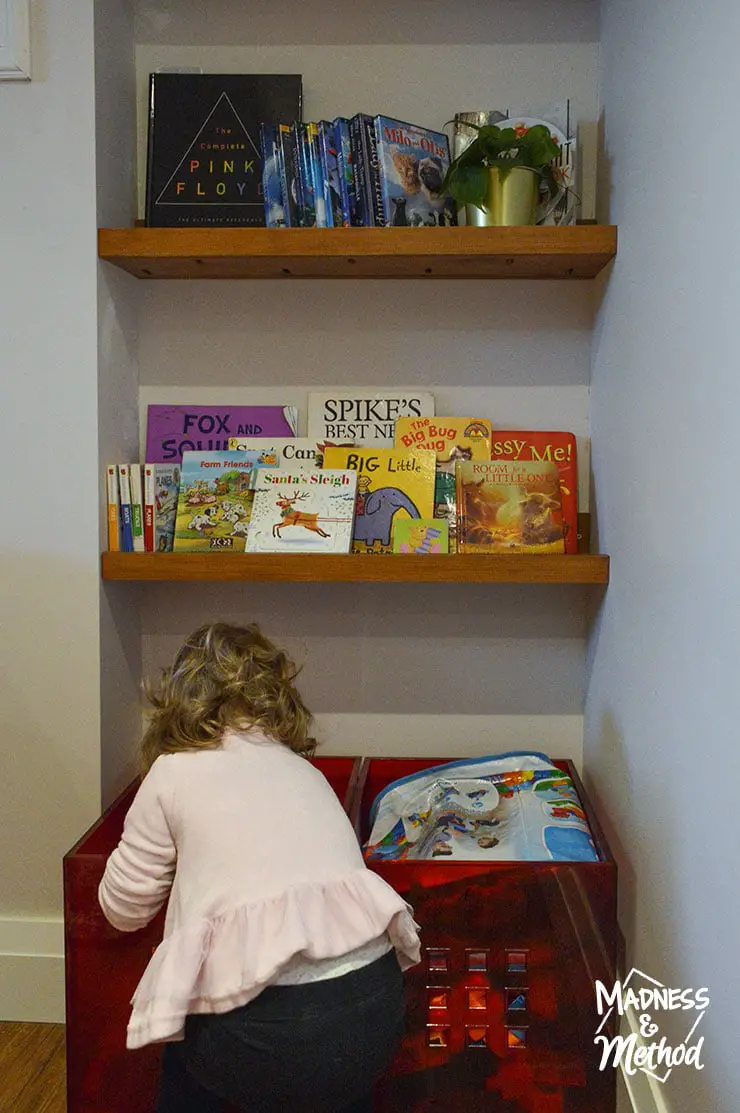
Here’s a little action shot showing our little lady in comparison. She’s our bookworm, and the height of the bottom shelf is perfect for her.
I hope you enjoyed reading about our renter and family-friendly shelves AND that it inspired you to build something similar. I knew I wanted to put something in the alcove area for a while, and I’m glad I came up with this. Other ideas included a planter wall, some sort of décor piece (like a clock, art or maybe one decorative/sculptural shelf).
I think that’s the last of the projects for our basement apartment for the next little while. Next week I’m going to go more “behind-the-scenes” and talk about the challenges/benefits we’ve seen living in two houses.
In the meantime, let me know if you have any questions about that, and/or any other project we completed for this space!

The post Our (Renter &) Family-Friendly Shelves appeared first on Madness & Method.