Seed Starting Supplies and Set Up: Trays, Grow Lights, Heat Mats, and More
Posted by admin on
My seed starting set up is not expensive or fancy…but it works. You don’t need a lot to grow healthy starter plants for your garden, but there are a few important factors to understand when starting seeds at home. You can certainly buy seed starting kits, but there’s just no need to spend a lot of money. You probably have much of what you need right now.
There are twelve factors to consider when getting ready to start your seeds for your garden:
Shelving
Hardware for hanging your lights
Trays
“Greenhouse” lids—-these hold in moisture and warmth for the tiny seeds
The seeds…
Seed starting mix or soil
Pots and containers
Plant tags and labels
Watering system or plan
Seedling heat mat
Fan for a bit of air flow
Planner so you know when to start your seeds
If you have a handle on these twelve items, you’ll be all set to get your seeds started so you have the BEST garden season ever…..

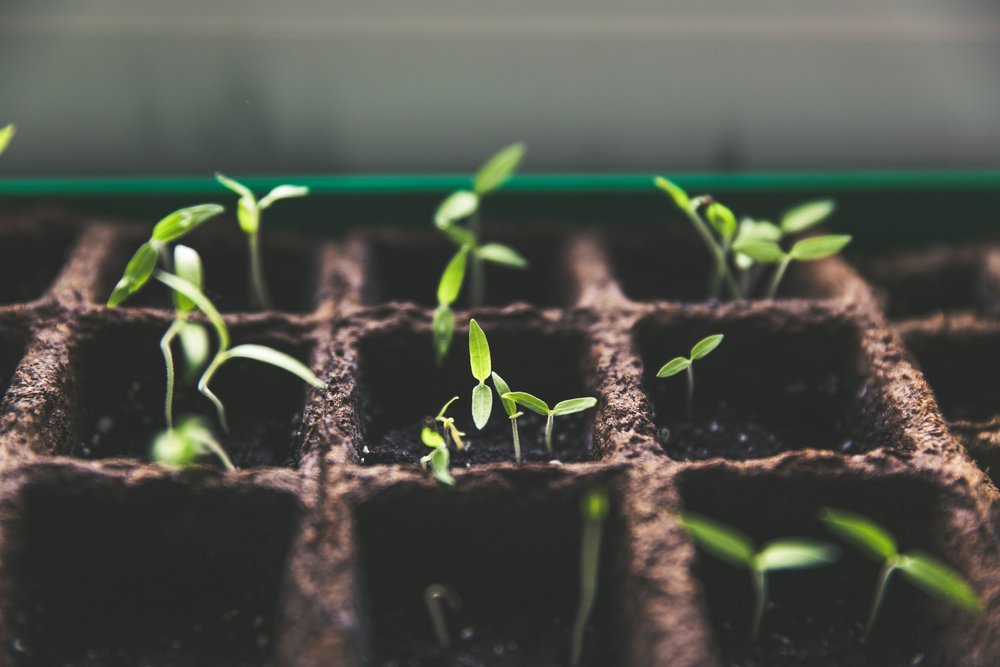
Image by Markus Spiske via Unsplash
Now let’s dive into each one of these considerations for getting your seeds started:
1) Shelving
Shelving is important for hanging your grow lights and having space for your seeds to flourish in your seed trays. I personally like the open metal shelving found in commercial kitchens. These aren’t expensive, there’s a lot of air flow, and lots of places to hang things as needed.
I also like them because they’re on wheels. I’ve found that having shelves with a depth of around 16 inches also allows you to hang two grow lights per shelf, and this is ideal. You can get these from Amazon, and they’re also available most of the time at Costco for even less. The good thing is once you have them, they can be used year after year.
2) Hanging Hardware
Different light systems will have various requirements for hanging them up, but generally they’ll have some kind of hook to run your hardware through.
This is simply some kind of system for hanging your grow lights that allows you to raise or lower the lights as the seedlings grow. The lights should always be about two to four inches above the plant or the top of the soil, if the seeds haven’t germinated yet.
You can get fancy with pulley systems and all, but we just use twine. It works just fine.
If the lights you purchase aren’t easy to raise or lower, you can also get shelving like I described above that allows you to raise and lower the shelves easily. An alternative to this is to have enough room between shelves that you can adjust the height of your trays with an item such as blocks, etc.
3) Trays
Trays are the containers that hold your little pots. These catch the water so you don’t have a big mess all the time, and they also allow moisture to be held inside the greenhouse tent you choose to set up. You can purchase these on Amazon or at any garden center. And like the shelving, once you have them, you have them forever, as long as you take care of them.

Get your FREE Herbal Remedy Guide and Cheat Sheet! It’s perfect for your kitchen or home apothecary.
4) Greenhouse Lid of Some Kind
This is my terminology for simply creating a system for your seeds where you have some clear plastic covering the pots. You can use something as simple as plastic wrap. But you can buy plastic tops for the seed trays I mentioned above, too. These fit loosely so air is allowed in, which is a good thing, and also are high enough to allow for plant growth.
5) The Seeds!
You’ll of course need your seeds! Maybe you saved some heirloom seeds from previous years, or maybe your purchasing your seeds. I do suggest buying heirloom seeds from a reputable company so that you can consider saving them in the future.
Here’s an article for storing, organizing, and viability of old seeds…
Here’s an article about why you need a seed bank…
Here’s a video about choosing seeds for your garden.
Here are my favorite places to purchase seeds right now:

Image by Jodie Righos via Unsplash
6) Seed Starting Mix or Medium
You need a sterile mix for starting your baby seeds. In fact, it’s just not a good idea at all to start seeds in your garden soil from outside. The seeds may germinate, but you have a very high risk that contaminants will damage your seedlings. Also soil from outdoors isn’t the perfect fit for germination at the highest level…which you want if you’re going to bother starting seeds indoors.
You can use a ready made mix, which is usually a soil-less combination of ingredients perfect for your seeds. It’s best if you purchase organic, but you don’t need to. The ready-made mix is definitely more expensive than just making it yourself, which you can do, but for me, it’s worth it just to buy the ready made already sterile medium for seed starting.
Some considerations for making your own soil-less mix include coconut coir (a by-product from coconut husks—-and I really like it), vermiculite (helps retain water), perlite (helps prevent compaction of the soil), sand, peat moss.
Just make a mixture of these and wet it down. If it holds together in your hand and doesn’t readily drip out water, then it’s a good mixture. I wish I had measurements for you, but I don’t. I’m an eye-baller in this regard.
Honestly, though, if you can handle the cost, the commercial stuff is easy and great.
7) Pots and Containers
There are all kinds of things you can use, here. Anything from old eggshells and the cartons to peat pots are great. If you have old plastic pots that are small, these will also work.
My favorite containers to use are the peat pots or pots made from compostable manure. I love these. When it’s time to plant your starts out, you can simply cut apart the bottom and plant the seedlings out right in the pot. This helps protect the fragile root systems of the seedlings too.
8) Plant Tags and Labels
It’s tempting to just forget about these….they can be a bit of a hassle. However, every single time I don’t label my seedlings I’m kicking myself.
One of the reasons is that I plant different varieties of different vegetables. I might plant ten different varieties of peppers, for example. And if I just love one or more of them more than others for some reason, if I don’t know exactly what they are, it’s REALLY hard to remember what I planted the year before. Or, if I’m saving my seeds, it’s impossible to know what each little group of seeds is in terms of the species.
I like these metal ones from Amazon. They’re pretty and reusable, too. I’ve also used popsicle sticks, plastic labels, and even just stuffed the seed bag into the appropriate row (this does NOT work, by the way).
9) Watering System of Some Kind
You need to consider how you’re going to water those little seeds so they’re not disturbed in the seed starting mix. Blasting them with a stream of water just won’t work. You can use a spray bottle at first, then graduate to a watering can.
What we like to do is to use an indoor/outdoor sprayer. These are usually multi-purpose, so be sure if you’re using an old one or a used one that it’s really clean and doesn’t contain traces of pesticide or herbicide. We have one solely dedicated to watering our seeds, so there’s no worrying about contamination.

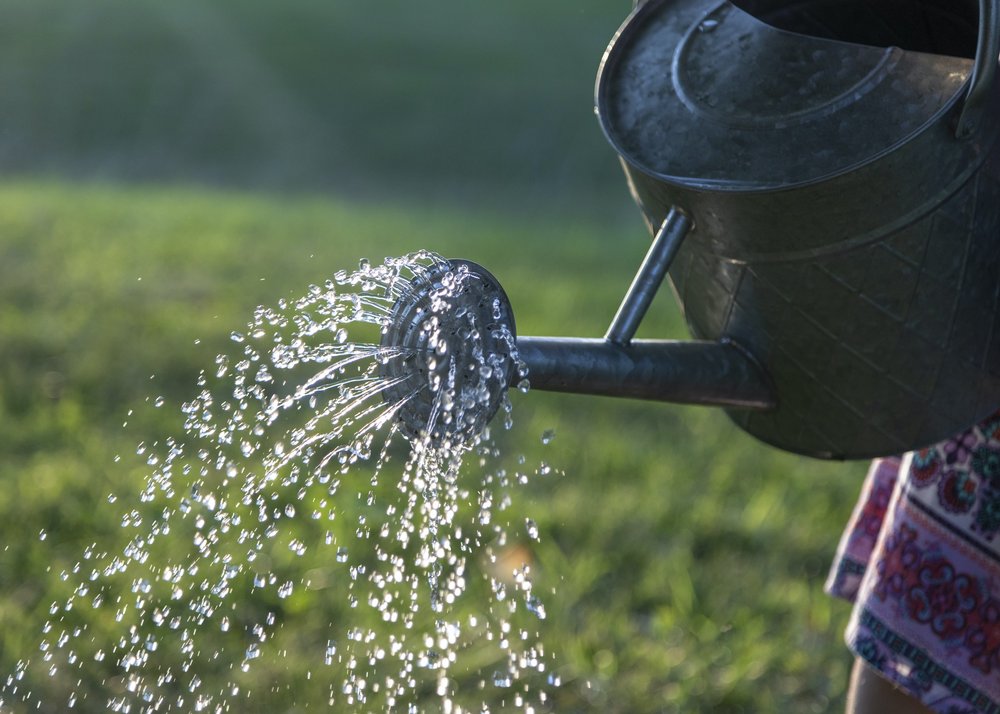
Image by David Ballew via Unsplash
10) Seedling Heat Mat
You may not need one of these. If you’re in a warm climate, it may be that where you are is maintained at a good temperature for starting your seeds, which is 65 degrees and higher. Most of us like to start our seeds in the winter time, though, and this means possibly having to use a heat mat of some kind to boost the heat of the soil so the seeds can germinate.
We’re in zone 5, and the inside of our home is definitely below 65 degrees. And especially if you’re using a garage or a storeroom of some kind, please be sure you know the temperature of the room. Heat mats usually have a temperature of 70 degrees and above.
It’s possible to “cook” your seeds, though, so be sure you keep a close eye on your system.
These are the mats we use, and I love that this one fits across the shelving unit we use.
11) Air Flow
You’ll need to plan for some airflow across your seeds, too. This can simply be opening the doors to the room. Or, if the air is very still, having an overhead fan set on low will do the trick.
Air flow is important to help prevent fungus gnats from getting started and also from molds and other fungi from getting started. All of these will kill your seedlings.
12) Planner So You Know When to Start Your Seeds
You’ll need to do some research to know when to start seeds in your garden zone. There are many books, online sources, etc. to help you find out when to start your seeds. But a super easy one I just love that you’ll have from one year to another is Clyde’s Garden Planner.
It’s. not expensive, and it works in all areas.

Final Thoughts on Getting Your Seed Starting Set Up Going
You know? I used to purchase all my starts from the nursery. This was years ago when I worked full time as a teacher in Southern Nevada and had four children to raise. I simply chose to buy all my seed starts, and that worked then.
But when we moved off-grid to the mountains an hour outside of Vegas and found ourselves in a solid zone 5B or 6 at best, we couldn’t buy the starts we needed for our particular zone from the nearby nurseries in Las Vegas. They were months ahead of us! That’s when I began my seed starting efforts in earnest. It’s been nine years, now, and I can tell you I’ve made ALL the mistakes.
And each year, I’ve learned more and more.
If you’re worried about starting your seeds indoors for this upcoming garden season, please don’t be. Just get in there and start! Even if things don’t work out, you will have learned something. Each year, I learn more…even though I’ve been starting seeds indoors for the past seven years.
You might also enjoy these related articles and videos:
The Ultimate Companion Planting Guide (with a printable option)
How to Amend the Most Horrible Soil in the World
10 Things Every Beginning Gardener Should Know
Video: Seed Starting Set Up
Video: Choosing Seeds for Your Garden
Video: How to Make Your Own Custom Tea Blends for Wellness
20 Medicinal Herbs to Grow in Your Healing Garden
20 Best Flowers and Herbs for Your Herbal Tea Garden
And there are hundreds more on my website and my growing YouTube channel! I hope you’ll subscribe!
Hugs, Health, and Self-Reliance,
Heidi
P.S. Be sure to get your FREE Herbal Remedy Guide and Cheat Sheet! It’s perfect for your home apothecary or kitchen. It’s 12 beautiful pages on 10 common and easy to find herbs you can use right now for your wellness.
